This article may currently be obsolete as it has not been updated since 2018.
Laptop vs Desktop
If you use computers to make living, chances are, you’ve at least once had to make a decision whether to get a laptop or a desktop as your primary working machine. Some get both.
Frankly, I hate working on multiple computers. Why? Because you need to maintain multiple environments, sync lots of files, and you can lose your browser session every time you close or open a lid or suspend your desktop and so on. Also, might require spending more on various software licenses and to me is generally a pain.
Getting a mobile workstation seemed to be the solution but carrying a bulky and heavy laptop with short battery life isn’t that sweet. Been there, done that. You’ll also need a docking station to connect external displays which often goes along with having a discrete GPU and I believe I should refrain from quoting Linux users who struggle with Nvidia GPUs and the Optimus mode to not get my blog R-rated.
Going 100% remote
So, here is the idea.
Why not use some lightweight laptop or whatever you fancy with a display and a keyboard as a thin client and connect into a really badass workstation that sits in your basement or half a country away in some data center or even cloud.
Hey, but why bother with some remote desktop in the first place, here’s why:
- You can work on an awesome machine, whenever and wherever you fancy, without a need to carry it around together with a damn nuclear power generator.
- Your working session is persistent, you can have your IDE and browser tabs open for days, weeks or even months.
- You can use multiple physical computers to connect to the remote workstation and work in the very same environment.
- You can save money buying a regular decent laptop, even a second hand one.
- You can travel carrying a light laptop instead of a heavy mobile workstation.
- You can have your preferred desktop OS locally (MacOSx? Windows? Linux?) and work on Linux remotely (my case).
Like any solution in existence, there are some drawbacks too:
- Your remote mileage may vary and will depend on your network connection speed and quality.
- You’ll need internet wherever you go.
- You may need to change your working habits.
- Some initial setup work has to be done first.
- Remote software sucks at times.
- Security awareness and hardening will be required.
Local (remote) Desktop vs Remote Desktop vs Cloud Desktop
First things first. What are you going to use the Remote Linux Workstation for and how?
I assume your work does not require lots of image processing, CAD either way would require rather a Windows based machine. Working on multimedia might also not be an ideal workload for a remote desktop.

Programming? Absolutely!
Firstly, you need to answer yourself couple of questions like:
Do you need to run some virtual machines? Are you going to use multiple monitors. Is a lightweight IDE the only things you use? Docker? Vagrant? How much RAM? What CPU? Do you need a GPU? How much storage? How fast? Is it going to run 24/7? Do you need to scale? Is your data local? Etc…
Secondly, the budget question:
How much do you want to spend on the build? Do you prefer to buy hardware or lease hardware?
It basically comes down to these three options:
- Local (remote) Desktop: building a workstation PC or a server and keeping it locally in your office.
- Remote Desktop: getting a dedicated server in some regular data center.
- Cloud Desktop: renting a virtual machine in public cloud.
Generally if your workload requires full virtualization (VMware, VirtualBox, Vagrant, Android Simulator, etc) you’ll need a bare bone machine. As of writing this post, it seems, none of the public cloud vendors support nested virtualization, so you can’t provision, for example, an EC2 instance in AWS and run VMware, KVM or VirtualBox on it. That being said, any dedicated server rented in a datacentre will do the job.
Thinking of GPU accelerated Machine Learning? Guess, you’re interested in having access to (an expensive) GPU. Likely it will be far easier or cheaper to rent such machine in cloud rather than buying hardware and building it yourself.
If you plan to keep your workstation up and running 24/7 then it might be cheaper to rent a regular dedicated server rather than a virtual machine in cloud on per hour cost basis.
So, as usual, it depends.
Remote Desktop Software
As the title implies, this is about setting up a Linux workstation. When you google for a remote desktop software you’ll get plenty of results for Windows based PC, like the native RDP or commercial TeamViewer, but what about Linux?
Linux user interface, regardless of the desktop environment, is built around the X network protocol, that implements a common pattern of a server and a client. Being a network procotol, the X allows to display user interface of a program running on the computer A on the display connected to the computer B. You can see an example of running an X window program on Linux and displaying it on Windows here.
In practice, however, X is just too slow to be used over WAN, which is a common case of having a remote workstation and using it through a low bandwidth connection. So, what are the alternatives?
There is one, that stands out.
The NX technology created by the NoMachine and it’s open source variant the X2Go.
Briefly speaking X2Go leverages various compression, caching and streaming techniques that make it a lot more usable than the raw X protocol, especially while remoting over a slow internet connection.
Additionally, X2Go works over SSH, allows to connect to the local desktop (the one you see on your monitor) or to manage a virtual desktop (headless server). All you need to do is to install the X2Go on your remote workstation and connect to it using the X2Go client, on Linux, Windows or MacOSx.
X2Go FTW! Let’s build it
Hah! If you managed to get this far in this article, I guess it’s about time to get your hands dirty and start messing around with the set up.
After some tries and fails, I went the first route, getting a headless workstation that runs behind my desk 24/7 and remoting into it both in the office and from other locations.
First, the remote workstation hardware.

Didn’t want to spend a lot without knowing the concept would actually worked, so decided to dust my good old workstation laptop, ThinkPad W520. Decent machine but has its drawbacks like discrete Nvidia GPU, CPU throttling and short battery life. Still, it’s i7 quad core CPU, 32GB of RAM and two disks, one SSD and one larger HDD, so good enough.
Second, the thin client hardware.
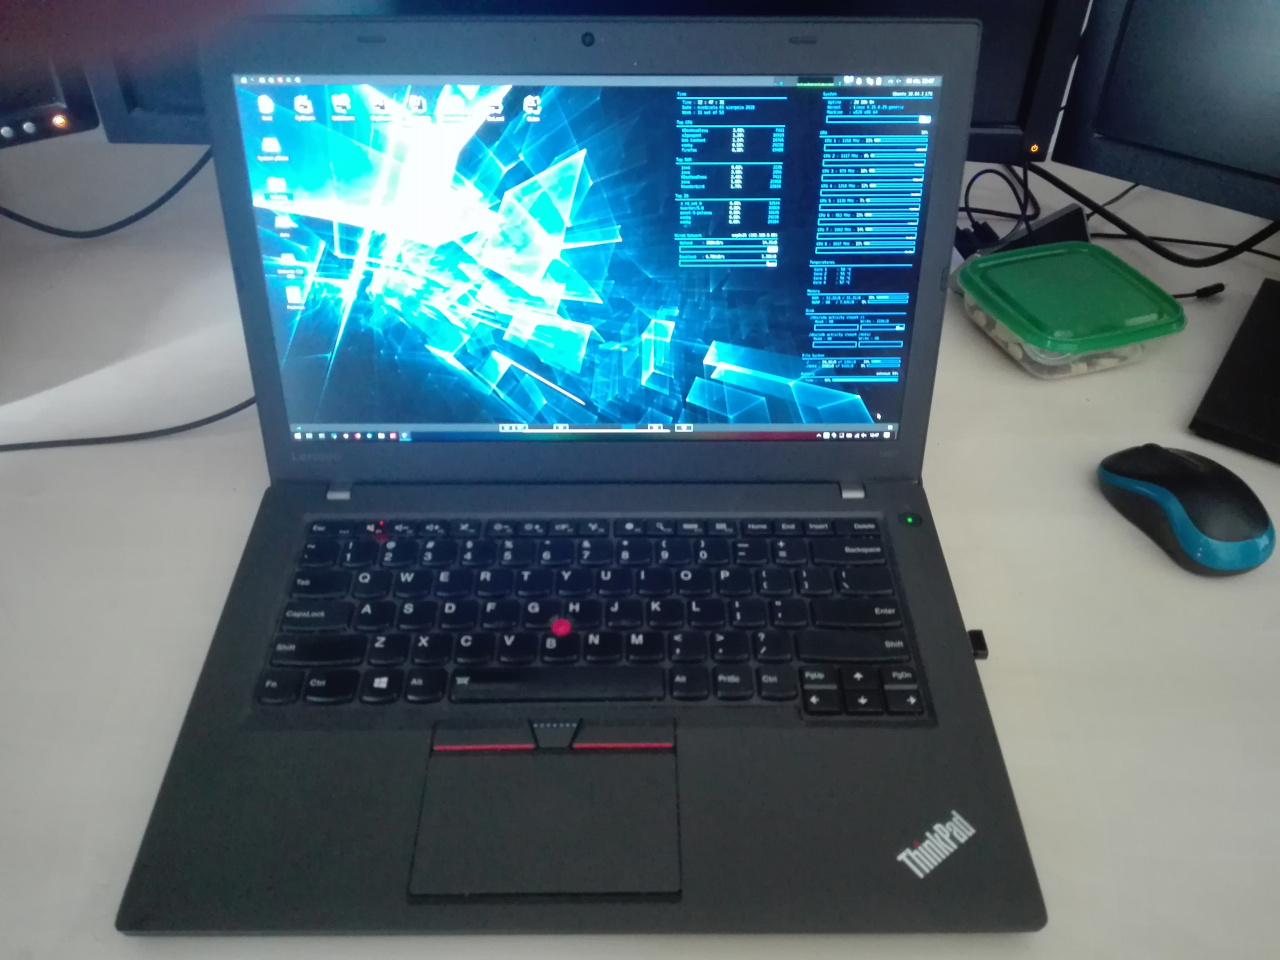
I’ve been using my second laptop, ThinkPad T460 as my primary workhorse for almost two years now. Great battery life, good FHD IPS display, decent keyboard and low weight. On the other hand, an underpowered i5 CPU that unfortunately feel sluggish while doing any heavier task, like say indexing a project in an IDE. Still, this laptop can easily drive three external displays connected via docking station which was mainly why I bought it.
My requirements are simple:
- Run all-in-one development environment 24/7.
- Keep browsers, terminal windows, sessions, IDEs, all on a single machine.
- Work on multiple external displays and laptop screen simultaneously.
- Support full virtualization and containers.
- Linux!
The following is the log of how I set up mine, however I also tested the steps on an EC2 instance in Amazon AWS.
The Remote Workstation
First, to build a Linux workstation you need, well… Linux.
Working through a remote desktop software is not the most common way of using Linux, so expect issues. That being said, my long favourite desktop Linux distro, Xubuntu based on XFCE4 desktop environment, works flawlessly so far with X2Go and I can highly recommend that. I use the latest Xubuntu 18.04 LTS amd64 desktop version.
Alternatively, you can use cloud or dedicated server and install a provided Ubuntu Bionic 18.04 LTS. On Amazon AWS, you can create a new account within the free tier and simply find an the AMI image with that distro.
If you prefer other Linux distro or desktop environment you may face issues I didn’t or need to translate the commands in the rest of the article to your specific Linux flavour of yours (yum, etc…).
XFCE4 Desktop Environment
As mentioned above, we’ll go with XFCE4 on Ubuntu Bionic 18.04.
Type the following on the fresh machine to upgrade the OS.
sudo apt-get update
sudo apt-get upgrade
sudo reboot
Next, install the Xubuntu core with all goodies:
sudo apt-get install -y xubuntu-core xubuntu-restricted-addons xubuntu-restricted-extraAlternatively, you can just install XFCE4 and add extra components when you want them:
sudo apt-get install -y xfce4SSH
X2Go works over SSH. I’d assume you already have SSH access but in case you’re building a local box you’ll need to install the openssh-server. You can skip this step if you’re already started with an online server.
apt-get install -y openssh-serverNow it’s time to do the hardening. You should disable password authentication and use the SSH private key to connect to the box. It’s a wide topic so I won’t cover it here, you can read more for example here: https://linux-audit.com/audit-and-harden-your-ssh-configuration/
Firewall
Take a special interest in this one!
Your workstation will likely be exposed to the public internet and you don’t want let others to enter your system! You must set up a firewall!
Why?
This is a development environment, by default various middleware and application servers like Apache, Nginx, MySQL, Redis, Tomcat, Elastic, MongoDB etc can expose it’s port wide open to the public unless you change their default configuration which few do.
Fortunately, with Ubuntu it’s quite easy to limit incoming traffic down to SSH. You can use the built-in UFW which is a frontend for iptables that simplifies the firewall management on your box.
First, check the UFW status:
$ sudo ufw status
Status: inactive
Next deny all incoming traffic by default:
$ sudo ufw default deny incoming
Default incoming policy changed to 'deny'
(be sure to update your rules accordingly)
Allow incoming SSH traffic:
$ sudo ufw allow OpenSSH
Rules updated
Rules updated (v6)
Enable the firewall:
$ sudo ufw enable
Command may disrupt existing ssh connections. Proceed with operation (y|n)? y
Firewall is active and enabled on system startup
Check status again
Status: active
Logging: on (low)
Default: deny (incoming), allow (outgoing), disabled (routed)
New profiles: skip

To                         Action      From
--                         ------      ----
22/tcp (OpenSSH)           ALLOW IN    Anywhere
22/tcp (OpenSSH (v6))      ALLOW IN    Anywhere (v6)
All good.
Note. If you’re using a virtual machine in a cloud, say EC2 instance in AWS, you should use the security group (or alike) to limit the server connectivity to bare minimum, by default expose only the SSH.
X2Go server
Your new workstation OS is prepared so it’s time to install the X2Go server.
sudo apt-get update
sudo add-apt-repository ppa:x2go/stable
sudo apt-get update
sudo apt-get install x2goserver x2goserver-xsession
That’s it, your remote workstation is ready.
The Thin Client
The entire point of having a remote workstation is the ability to work on a decent machine from any place on your preferred device and OS. It can be a laptop or another desktop computer running Windows, MacOS or another Linux. Up to you.
X2Go client
You need to install the X2Go client software on the client machine.
Go to https://wiki.x2go.org/doku.php/download:start download and install the right package for your system.
If you’re using another Ubuntu Linux box as client, then follow the X2Go server installation instruction above and instead of installing the x2go-server package install the client:
sudo apt-get install x2go-clientConnecting to the remote workstation
Once the X2Go client is installed, you can connect to your remote server.
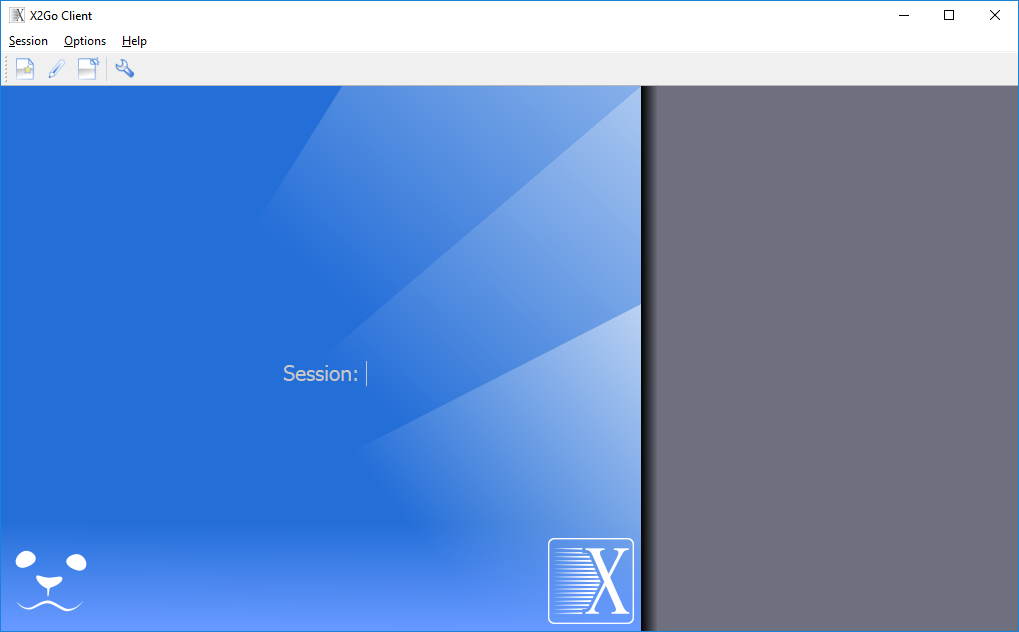
Create a new session and select connection options.
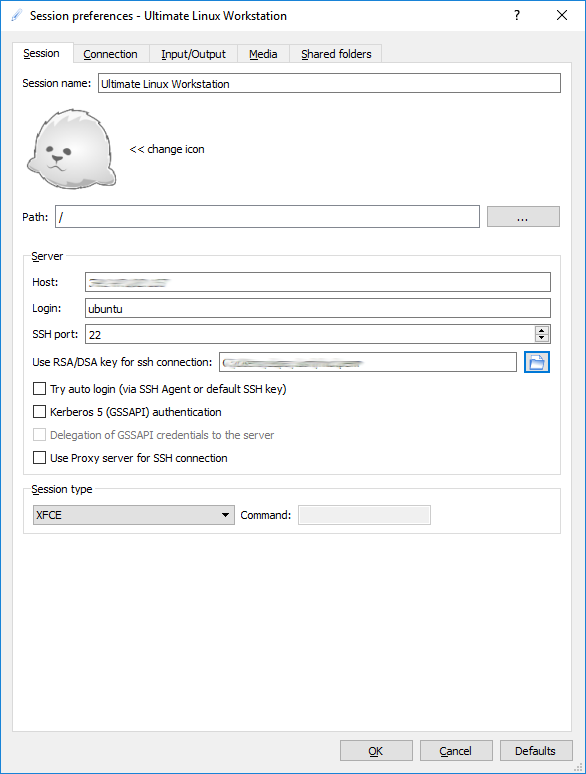
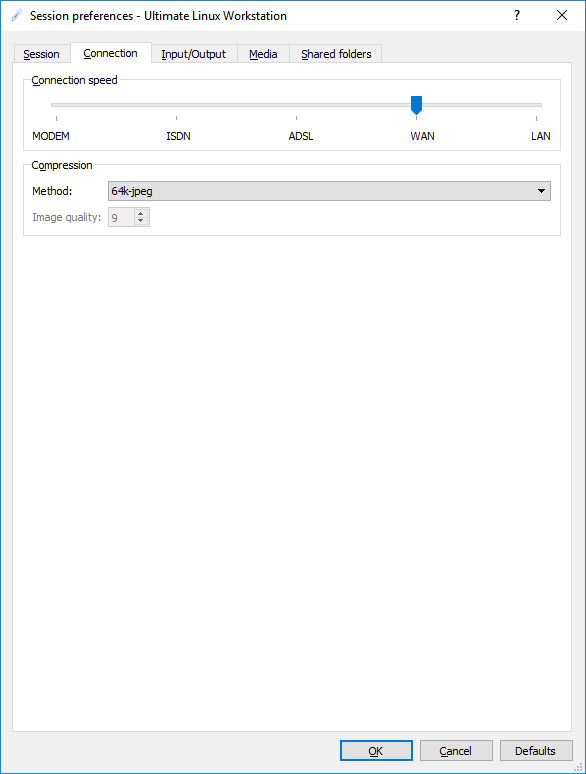
Choose connection speed and compression options.
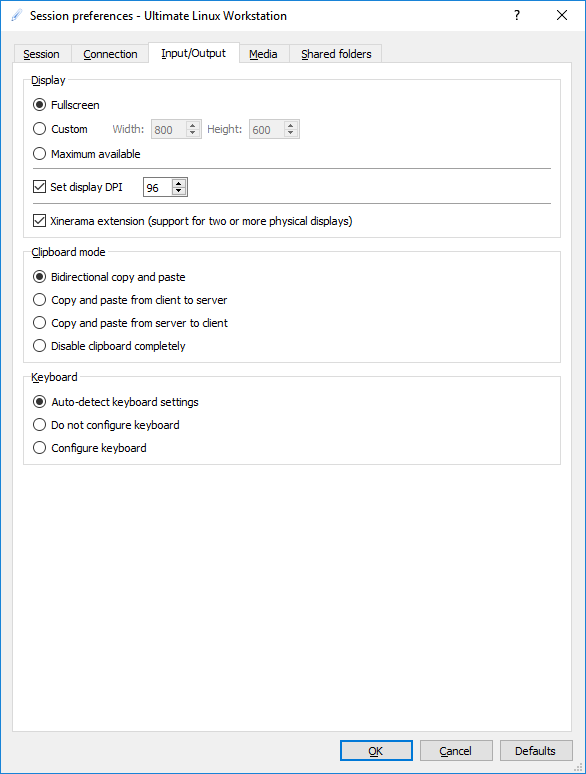
Adjust input and screen preferences.
Select the new session and connect!
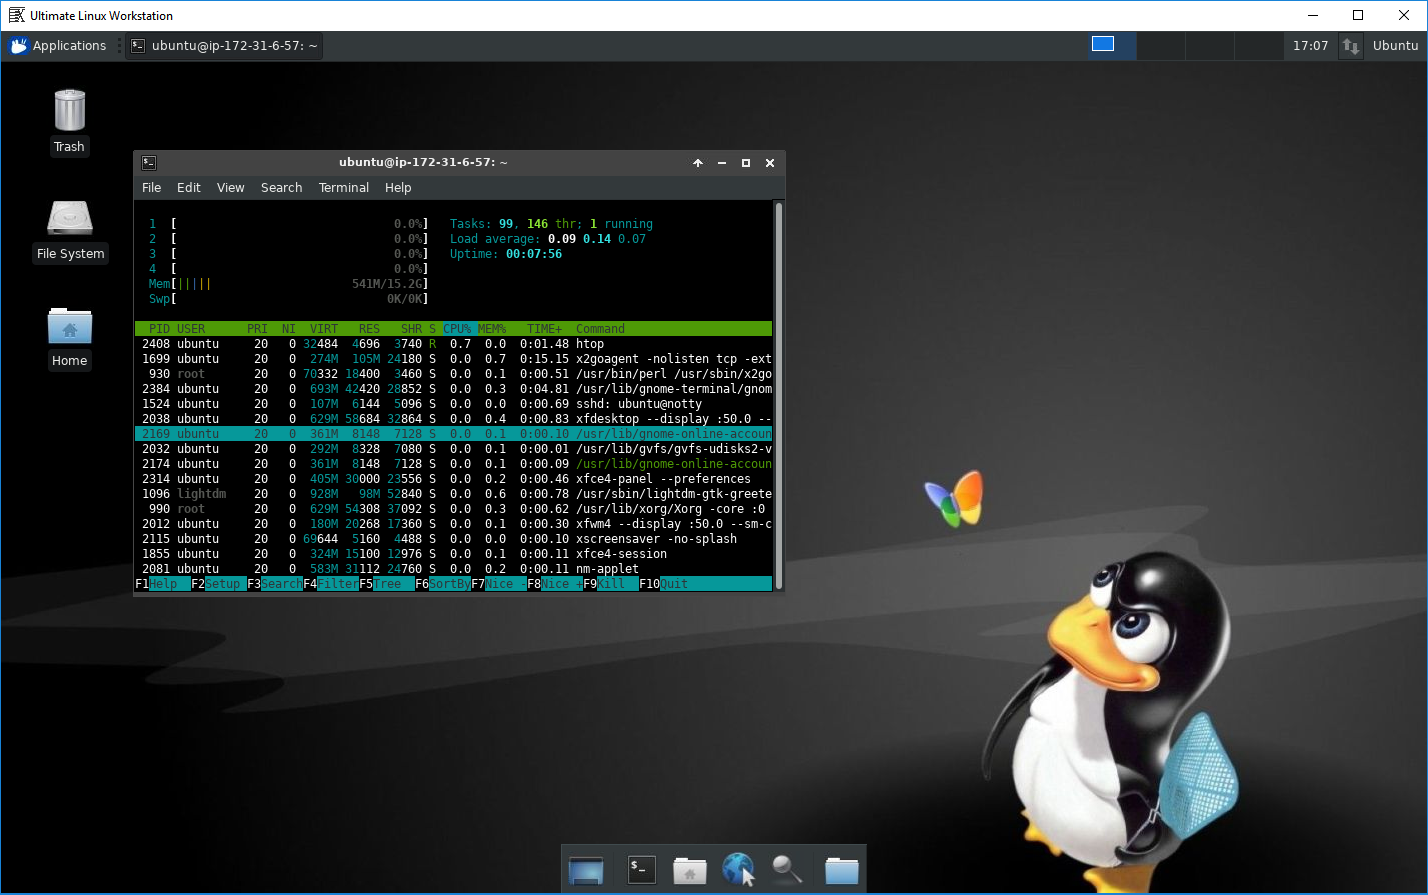
You’ll see the X2Go splash screen and next your XFCE4 session should start.
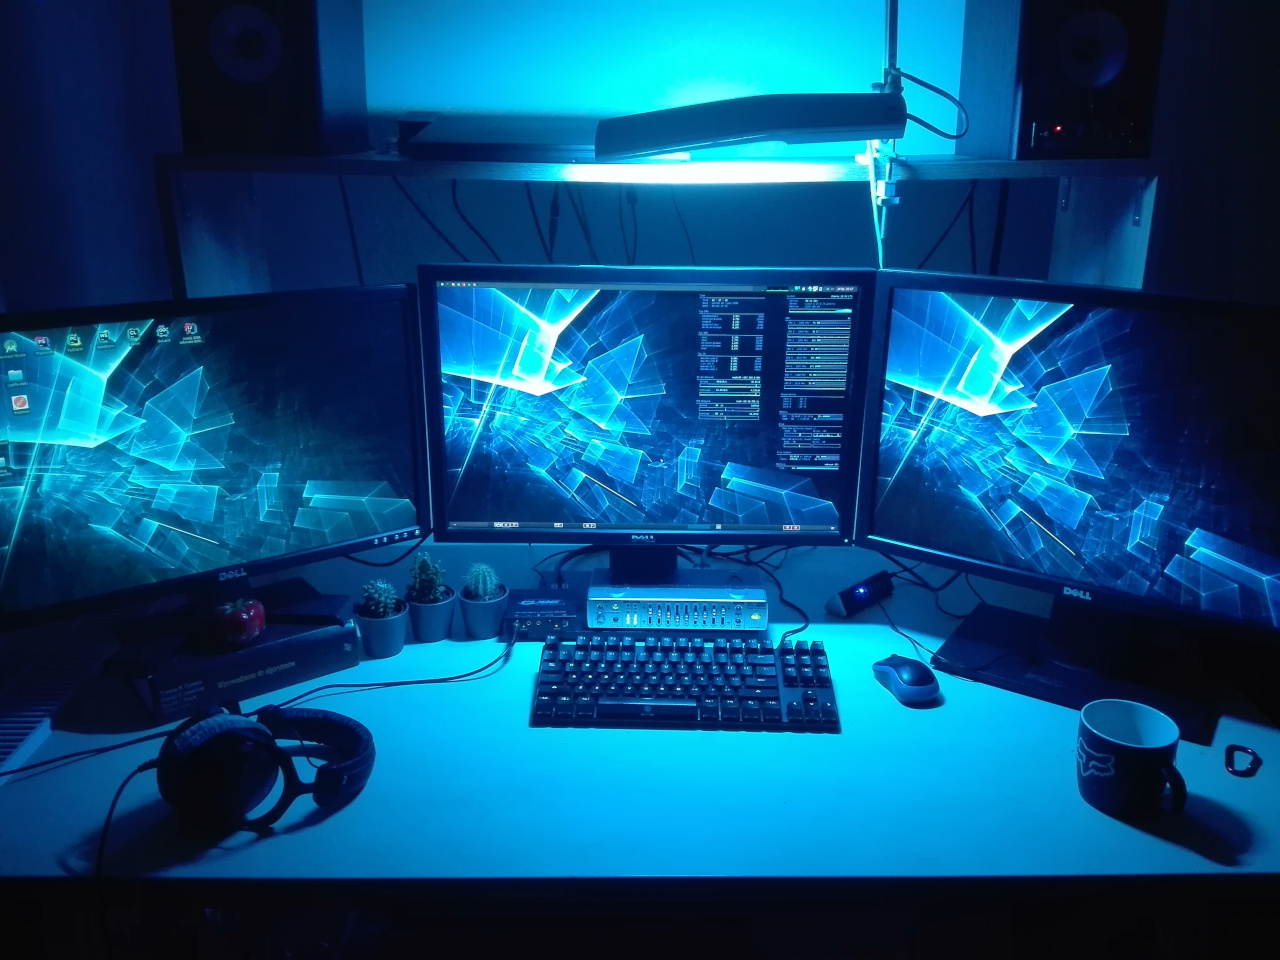
And after a few tweaks you can get this:
Performance
So, how does that rally perform? With X2go you can adjust connection settings and image quality to your current bandwidth.
Working over LAN
Because my “remote” workstation is a powerful laptop docked next to me I can connect to it over 1Gbps LAN. Because I use three monitors there is a lot of image data to send through so the most seamless results I have with the following settings:
- Connection speed: LAN
- Compression: 256k-png
Disabling compression caused some short lagging due to traffic spikes, especially while using it over WiFi.
Working over WAN
By WAN I mean connecting through relatively good quality broadband, more than 10Mbps up/down and low latency. I use these setting day to day:
- Connectoin speed: WAN or ADSL
- Compression: 64k-jpeg
You can try lossless compression but even with jpeg image quality is good enough.
Working over mobile broadband
From time to time I’m travelling and using my small 3G/4G/LTE mobile router. Connection quality depends on current location coverage and usually is pretty low.
- Connection speed: ADSL
- Compression: 64k-jpeg
It’s definitely less quality and a bit sluggish, but still can do basic tasks like typing or even browsing light websites (no animation etc).
Multiple monitors
This one is pretty cool:
X2Go supports multiple monitors, all you need to do is enabling the Xinerama mode. That being said, the X2Go client software works well.. meh on Windows (haven’t tried that on MacOS). X session or the local X server can crash, so I did a workaround by running X2Go client in an Ubuntu virtual machine on my local host in with three displays in the seamless-mode. It work surprisingly well, almost as well as having these monitors connected to the real box.
Tips & Tricks
Hot Keys
- Ctrl+Alt+F – Toggle the fullscreen mode in the X2Go client
- Ctrl+Alt+M – Minimize the X2Go client
- Ctrl+Alt+X – Kill the session
Resize X2Go screen
Sometimes, the X2Go session doesn’t want to adjust to your current display size, you can manually trigger it like this:
xrandr -s 1920x1200Atom X2Go fix
There is a bug related to running Atom in the X2Go which kills the session, more about it is here: https://github.com/atom/atom/issues/4360
Dirty hack, once Atom is installed on your remote workstation, do the following:
cp /usr/lib/x86_64-linux-gnu/libxcb.so.1.1.0 /usr/share/atom/libxcb.so.1
sed -i 's/BIG-REQUESTS/_IG-REQUESTS/' libxcb.so.1
XFCE4 settings
If you’re not using the Xubuntu distro, but regular Ubuntu Bionic you may need to add xfce4-panel to session start-up. XFCE4 Menu -> Applications -> Settings -> Session and Startup -> Application Autostart and add the xfce4-panel.
Sharing and syncing files
X2Go has a built-in feature for sharing directories between the local X2Go client and remote X2Go server using the sshfs mount. Simply, go to your X2Go session settings and add folders you want to share.
Corporate proxy (NTLM)
Some of you may be interested in connecting to a remote workstation from corporate locations behind NTLM proxies.
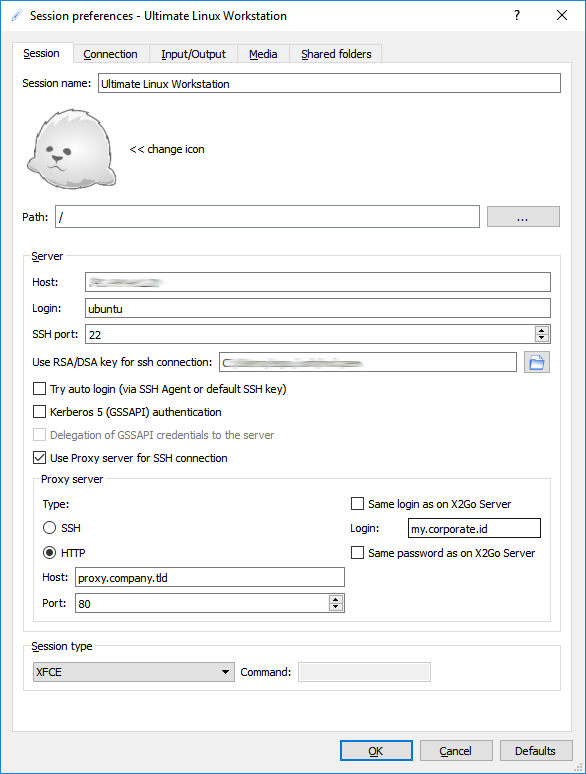
Fortunately, X2Go supports that well.
What’s next?
I’ve been using this setup for weeks now and I’m more than happy with it. My good old W520 does the job but I’m timidly looking for a replacement, likely a custom built workstation PC or a server with the very same remote workstation setup.
I tested the steps also on an EC2 instance in AWS but my quota limited it to t2.2xlarge, just wondering how would it work on the biggest m5.24xlarge, 96cpu htop anyone?
Feel free to post feedback in comments, social media, email and thanks in advance for sharing this article.